

Home Grow Guide
A Beginner’s Guide to Growing Blue Oyster Mushrooms at Home
Ten Mile Mushrooms · August 25, 2026

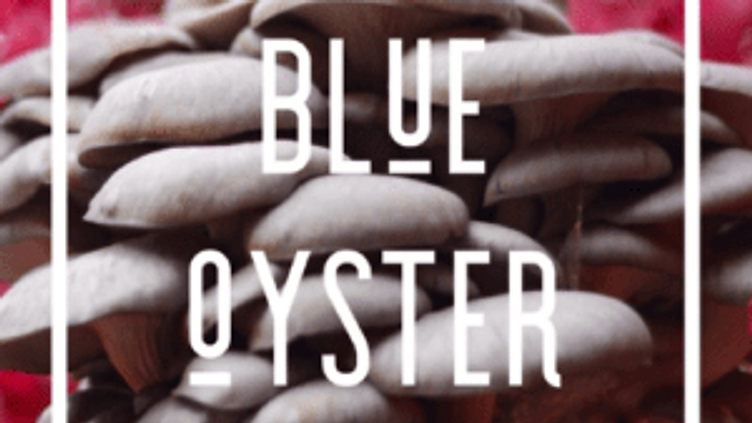
Discover the rewarding art of indoor cultivation with our step-by-step guide to growing vibrant, farm-fresh oyster mushrooms in your own kitchen.
The Magic of the First Flush
At Ten Mile Mushrooms, our days are defined by the quiet rhythm of the Pennsylvania woods and the steady growth of mycelium within our climate-controlled facility. While we manage 70 acres of woodland, we believe the joy of mushroom cultivation shouldn't be limited to professional farmers. The Blue Oyster mushroom (Pleurotus ostreatus) is the perfect gateway for any home grower. They are resilient, fast-growing, and offer a culinary reward that far surpasses anything found on a grocery store shelf.
Growing mushrooms is a marriage of art and science. It requires patience and a clean hand, but the process is deeply intuitive once you understand the needs of the fungi. This guide will walk you through the lifecycle of an Oyster mushroom, from the initial inoculation to the moment you harvest your first cluster.
Step 1: Selecting Your Substrate
In the wild, Oyster mushrooms are primary decomposers, often found on decaying hardwood trees. To replicate this at home, you need a substrate—the material the mushroom will eat. For beginners, we recommend two primary options:
- Cereal Straw: Wheat or oat straw is traditional and highly effective. It must be chopped into 2-3 inch pieces and pasteurized in hot water (145-160°F) to kill off competing bacteria while leaving beneficial microbes intact.
- Hardwood Sawdust Pellets: This is our preferred method at the farm. Fuel-grade hardwood pellets are already heat-treated during production. When hydrated with boiling water, they expand into a clean, nutritious substrate that Blue Oysters love.
Ensure your substrate is moist but not soggy. A good rule of thumb is the "squeeze test": when you squeeze a handful of substrate, only a few drops of water should escape.
Step 2: Inoculation
Inoculation is the process of introducing mushroom spawn—which acts like the "seeds" of the fungal world—into your prepared substrate. At Ten Mile Mushrooms, we use USDA Organic certified grain spawn to ensure the strongest possible start.
Cleanliness is paramount here. Wipe down your workspace with 70% isopropyl alcohol and wash your hands thoroughly. Mix your spawn into the cooled substrate at a ratio of about 5-10%. Once mixed, pack the material tightly into a food-safe plastic bag or a specialized grow bag with a filter patch. If using a standard bag, poke small holes every few inches to allow the mycelium to breathe.
Step 3: The Incubation Phase
Place your inoculated bag in a dark, room-temperature spot (68-75°F). During this time, the mycelium will begin to "run," spreading its white, root-like threads through the substrate. This phase typically takes 10 to 21 days. You are looking for the substrate to turn completely white and feel like a solid block. If you see patches of green or black, this is a sign of contamination, usually caused by improper pasteurization or a lack of cleanliness during inoculation.
Step 4: Initiating the Bloom
Once the block is fully colonized, it is time to move it into fruiting conditions. Unlike plants, mushrooms do not need direct sunlight, but they do need indirect light to signal that it is time to grow. A kitchen counter away from a window is often ideal.
To trigger fruiting, cut a small "X" in the side of your bag. The mushrooms will grow toward the oxygen. Blue Oysters require three specific environmental factors to thrive:
- Humidity: Aim for 80-90% humidity. You can achieve this by misting the area around the cut with a spray bottle 2-3 times a day.
- Fresh Air Exchange: Mushrooms breathe oxygen and exhale CO2. If your mushrooms look long and "leggy" with tiny caps, they are likely gasping for air.
- Temperature: Blue Oysters prefer cooler temperatures, ideally between 60-70°F, which mimics the crisp air of a Pennsylvania autumn.
Step 5: The Harvest
Within 5-7 days of opening the bag, you will see small "pins" emerging. These will double in size daily. Harvest your Blue Oysters when the edges of the largest caps begin to flatten out but before they curl upward. Simply grasp the cluster at the base and twist gently. These are best enjoyed fresh, sautéed in butter with a pinch of sea salt to highlight their delicate, woody flavor.
Common Mistakes to Avoid
Even experienced growers face challenges. The most common pitfall is over-misting. While mushrooms love humidity, standing water on the fruiting bodies can lead to bacterial blotch. Always mist the air or the inside of a humidity tent, rather than the mushrooms themselves.
Another frequent issue is impatience. It can be tempting to open the bag early, but exposing uncolonized substrate to the open air is an invitation for mold. Wait for that beautiful, snowy white coverage before you begin the fruiting process. By respecting the natural timeline of the fungi, you ensure a bountiful and healthy harvest from your home farm.
